


Analog tools to loosen up and fight screen fatigue
they're fun too!

Have you ever felt that your digital work is stiff, or that you end up overworking digital pieces? Or does dealing with menus and keyboard shortcuts for hours make you want to fling yourself into space?
Maybe you want to try working traditionally, but you feel too reliant on the lasso tool, undo, scaling, and digital rulers. None of that exists in the physical world, right?? Well, the good news is that many of the digital tools we now rely on are recreations of analog tools that were used for decades before graphic editing programs were invented, and you can still find many of them at your local art or office supply store. I’m not talking about pencils and paints, but tools used for design and draftsmanship that are falling by the wayside.
There’s this misconception that physical media is limiting, static, unchangeable, that cartoonists and designers of yore were genius draftsman spitting out perfectly composed pages straight off the dome — or else using a lot of paper. Obviously, I can’t speak for those artists of yore, but I can speak from my experience. There is flexibility, freedom, fun, and ease to be found in analog tools, and I think everyone should try them.
Why do things the “hard” way?
For me, mainly because it’s fun.
Don’t get me wrong, I absolutely rely on digital tools and even find them fun, sometimes. But always being tied to a screen or tablet makes me feel claustrophobic. Maybe I just love the accouterment of craft; the pads of paper, brushes, Xacto knives; you know, cool studio stuff. But there are also measurable benefits for me. I tend to overthink and abuse the undo button in digital, always worrying about finding the ‘right’ tool rather than just making the damn thing. The limits of analog tools force me to slow down and think before making a mark. I follow my instincts and trust my judgement rather than undo, undo, undo.
My line quality tends to be better on paper, and I feel more free-flowing with my ideas. It also gives my sensitive eyes a break from screens, and the tactile experience makes my brain and body happy. Trying analog tools also gave me a better appreciation and understanding of their digital equivalents. It’s like “oh! This is the problem they were trying to solve!”
In a previous post, I wrote about how I combine analog and digital tools to write books with Affinity Publisher. Today, I would like to share some of the analog techniques and tools that I’ve enjoyed incorporating into my practice.
Tracing Paper
It turns out Photoshop didn’t invent the concept of layers.
As a beginner, I was intimidated by drawing on my nice painting or drawing surfaces. I thought that to be a real artist, you did it all at once. You just sketched, drew, and painted all on the same surface; no need to test compositions or move elements around. Sure, you can work like that if you are a big smarty pants, but erasing a lot can damage your paper or affect the final piece. And it doesn’t have to be that way. In actuality, artists have always had ways to plan, sketch, and refine before doing a final piece.

I’m sure most of you are familiar with tracing paper, but maybe you weren’t sure how to use it. It’s translucent paper, just see-through enough to trace a drawing underneath. Tracing paper is the analog version of setting your sketch layer to 50% and doing a refined drawing on a new layer. Another way I use tracing paper is to make a new ‘object layer’ on top of a ‘background layer’. I draw characters or objects, cut them out, and can move them around freely on top of the background layer.
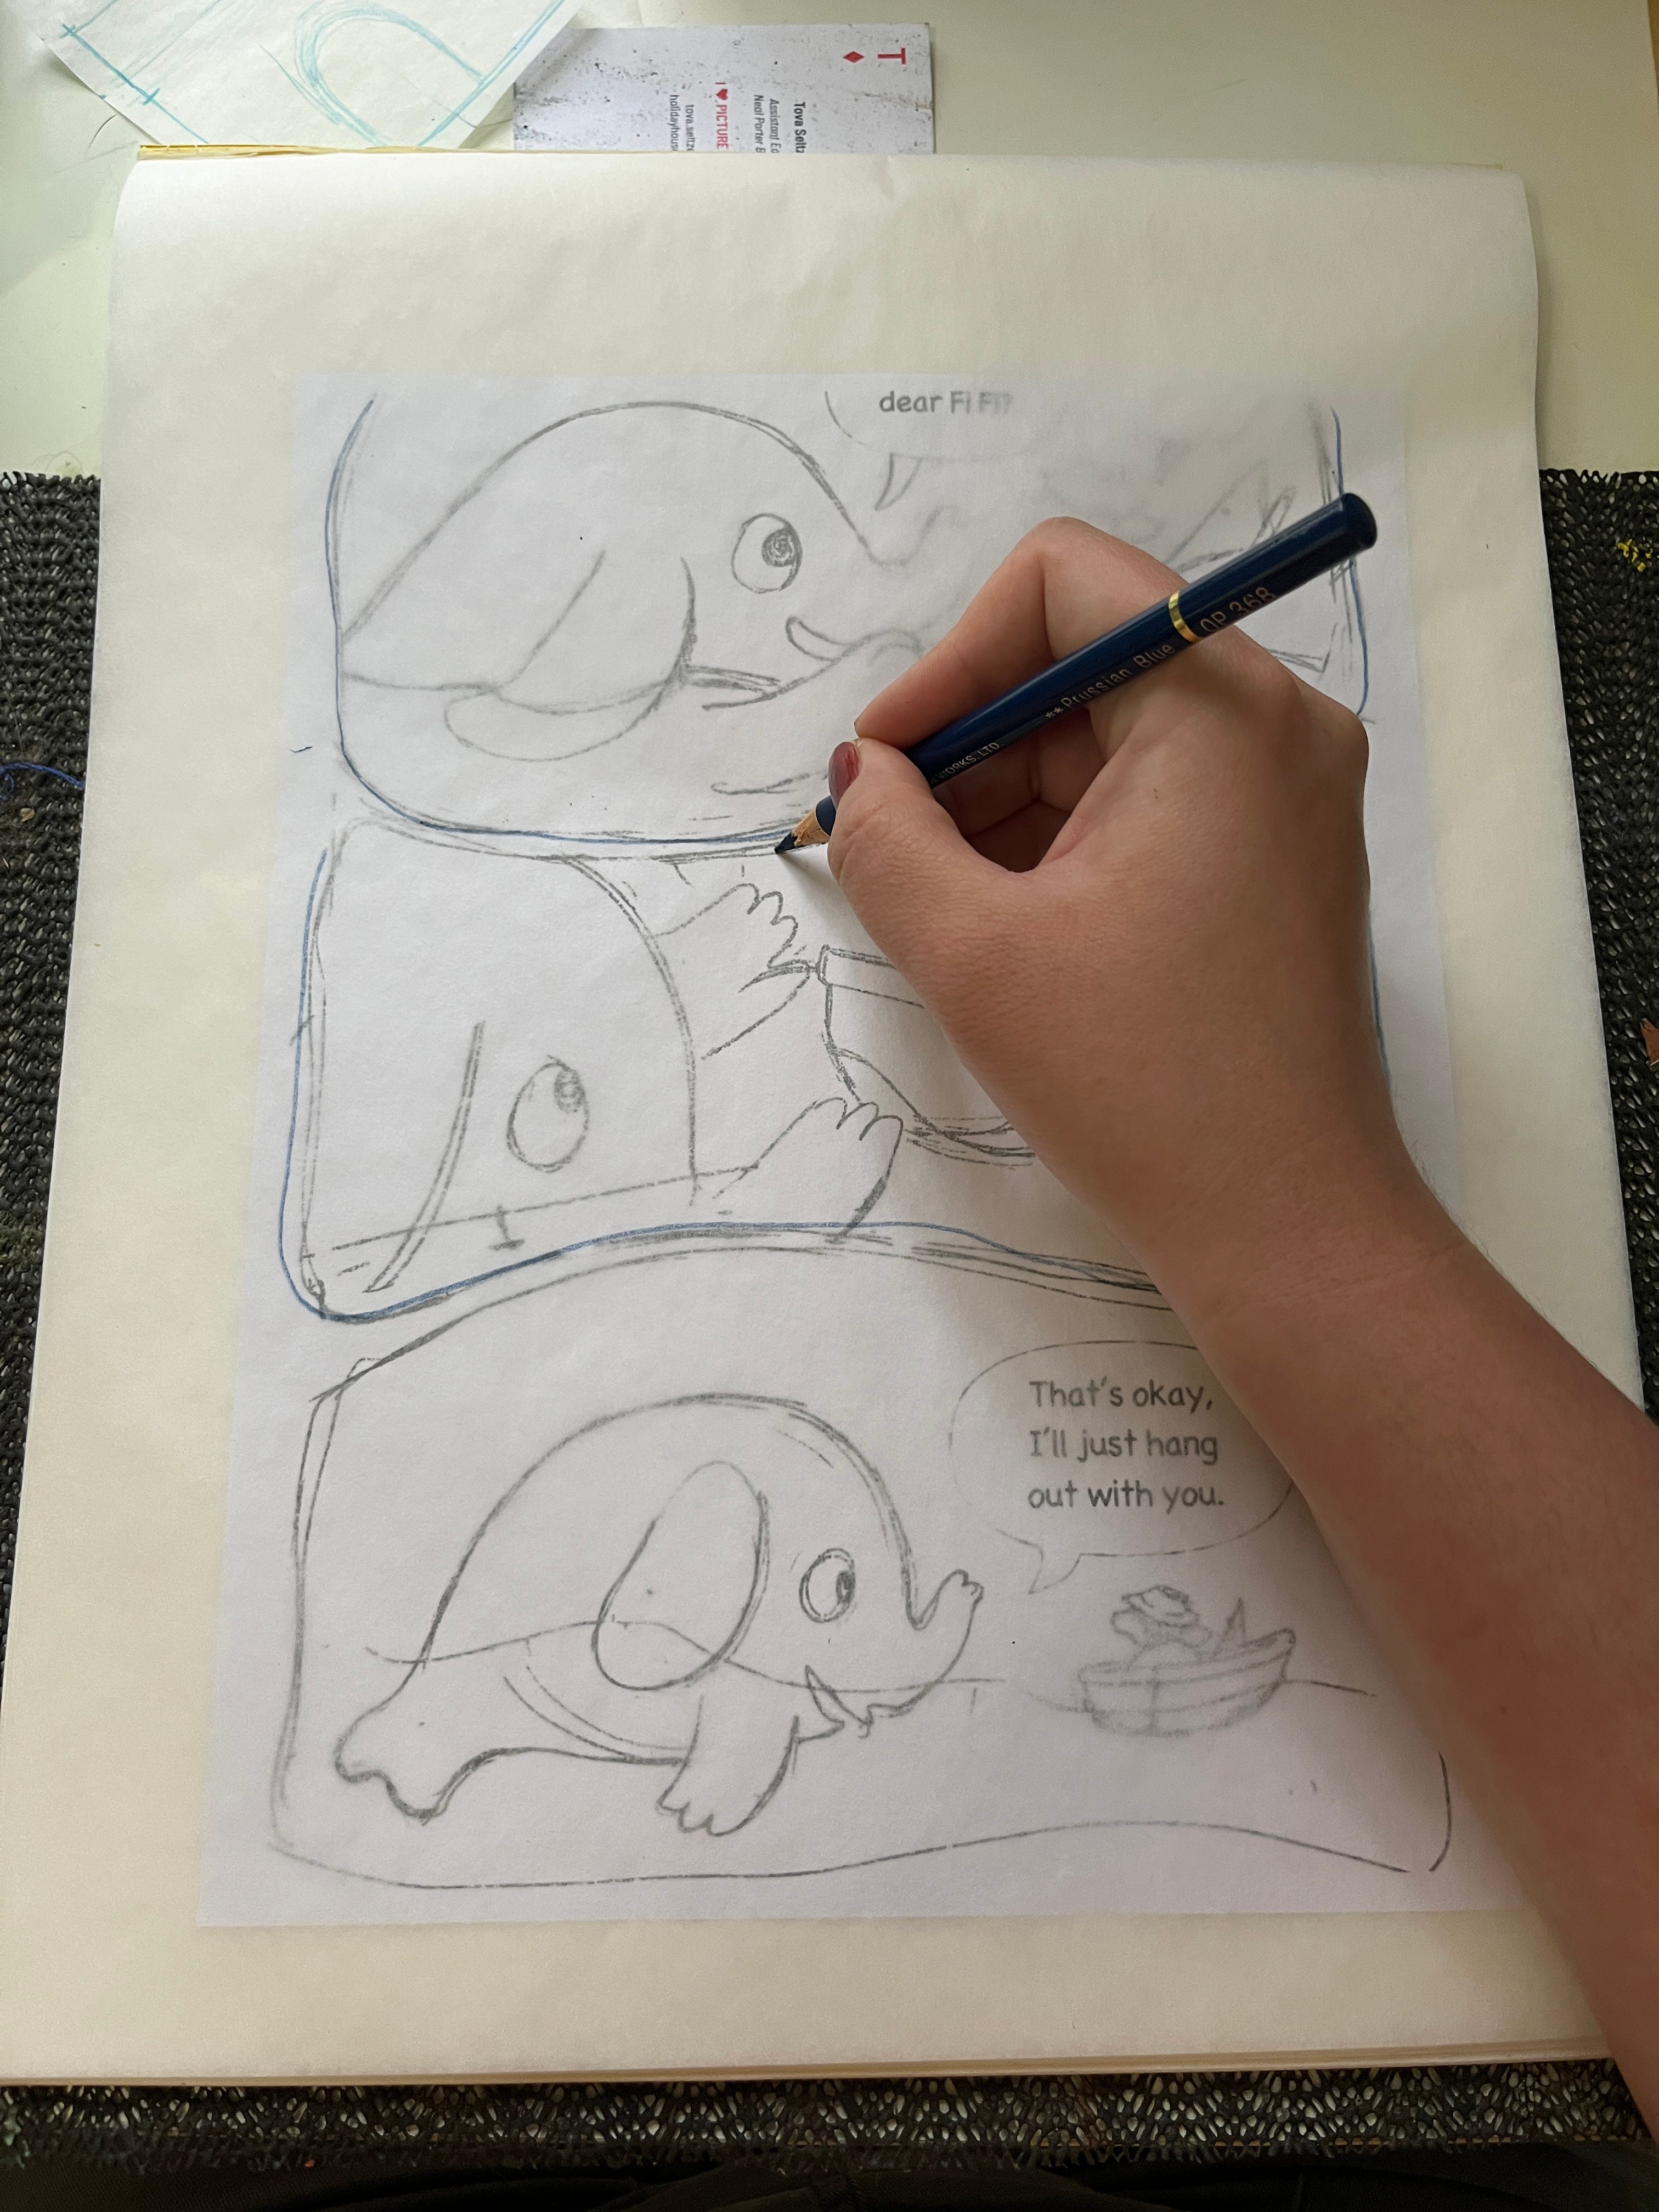
The finish of tracing paper is quite slippery and erases easily, making it great for sketching and refining drawings before transferring to a final surface. You can layer multiple sheets of transfer paper to increase or decrease opacity as you would in digital. Cut pieces of drawings up, tape them together or onto a composition board, and then trace a final layer on top. In conjunction with the following tools, you can make accurate compositions and transfer your drawings to final surfaces. It also means you have a backup of your line art or refined drawing, if something goes wrong on the watercolor paper you don’t have to start over from scratch.
Of course, the con here is all the extra paper waste. For me, the results are worth it because I get better drawings when I refine on physical paper. I tend to overthink less, follow my instincts, and have more fun, all of which lead to better drawing.
Transfer paper
Now you are the printer
Transfer paper is one way to transfer your drawings to your final surface. It’s a sheet printed with pigment or graphite on one side, and when pressure is applied the pigment or graphite is transferred to the applied surface. In other words, you put your transfer paper between the illustration surface and your drawing, trace over your drawing again, and wamo bamo your drawing is now on your illustration surface.
Other ways to transfer a drawing are by using a lightbox or a projector. Projectors are good for large paintings or murals, but they aren’t very precise. Lightboxes are more direct and use less waste. However, when working with an opaque medium like gouache, one can easily paint over your lines, it’s easy to ‘lose’ the drawing.
That’s not a big deal for one-off illustrations, but for a book where characters need to stay relatively on model and your editor leaves comments at you about small details disappearing between pages… it can be frustrating. And once you add layers of paint, the lightbox starts to not work. So recently, I’ve switched to the tracing paper+transfer paper method.
I tape my tracing paper on top of my watercolor paper, and that becomes like my ‘line art layer’. Because it’s taped it keeps everything in the right spot and because it’s see-through, I can see where I’ve gone off the path. At any time I can just use transfer paper to reapply the drawing on top of my paint. It also keeps my composition accurate between versions, which is crucial when working with a design team.


The con of this method is that I end up drawing everything like 3 times or more. Annoying. The most efficient way is to print directly on your painting surface, but a large enough printer for that is very expensive, and printers are, as you know, evil.
Grid Paper
This is a new one I’m trying out. I’m working on a book dummy that requires the proportions and size of elements to remain consistent across the book, something I am not naturally gifted at. So I decided to look in my art store’s drafting section for pre-printed 1 inch grid paper.
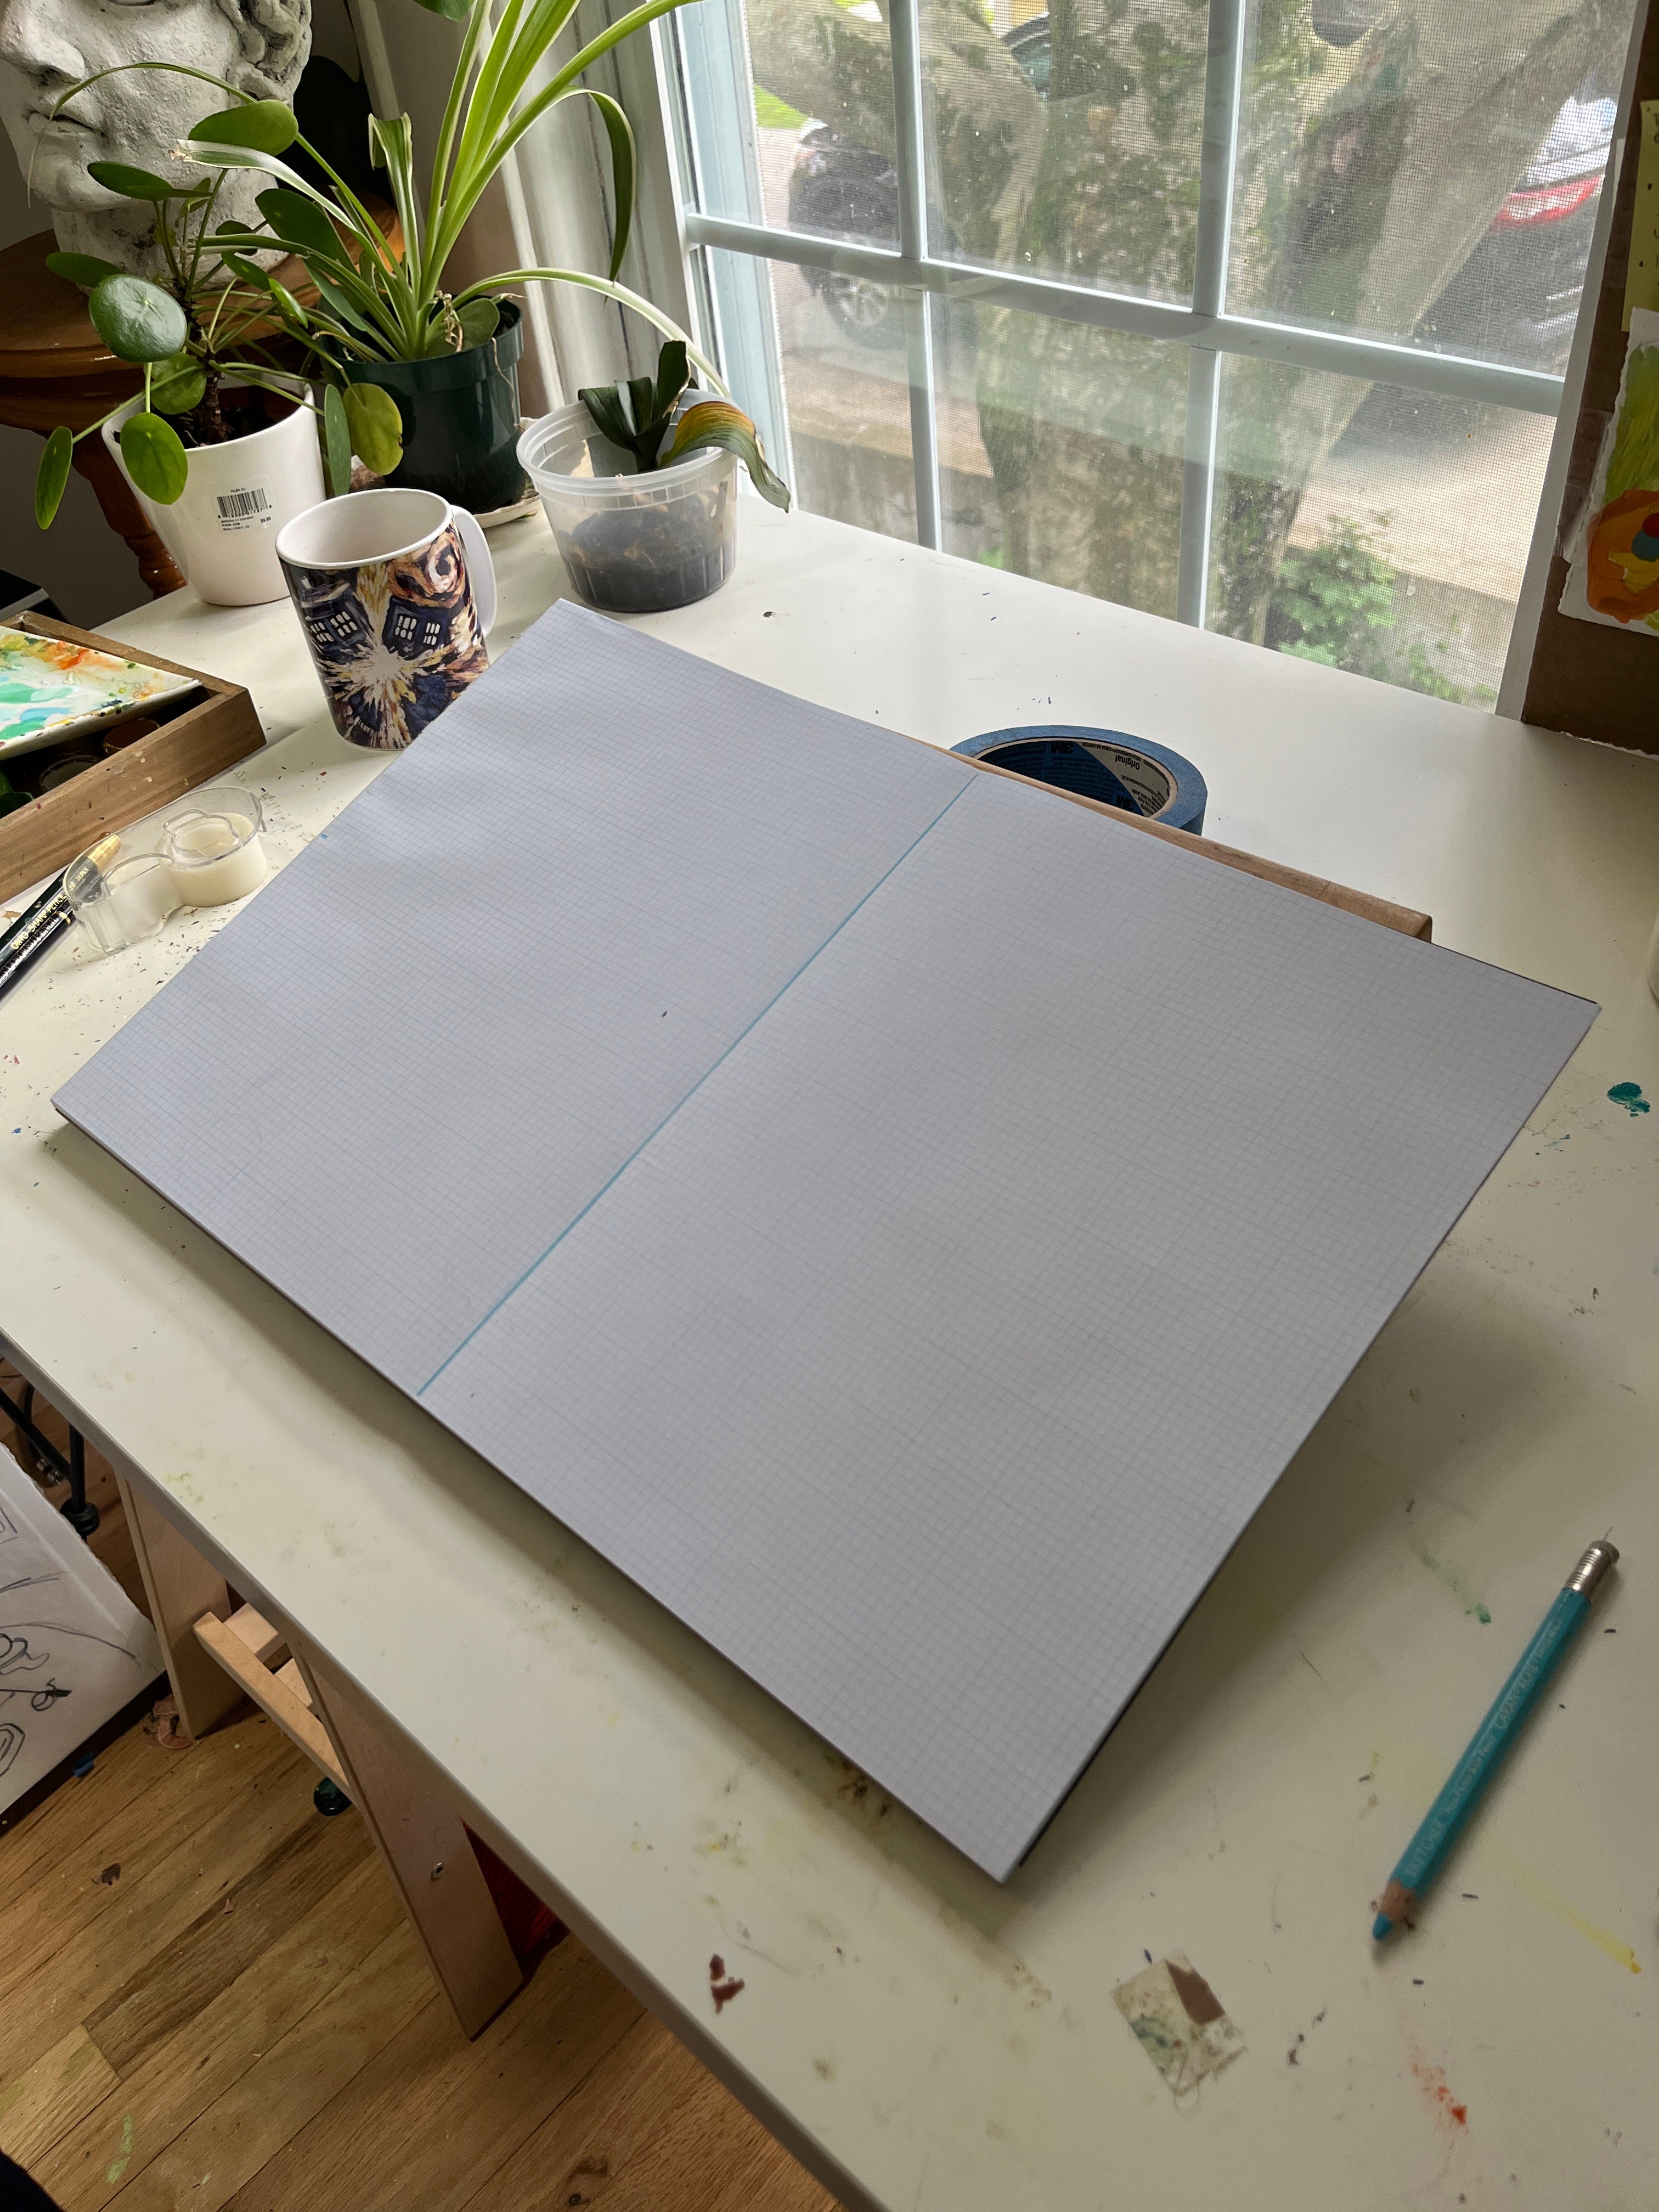
I’m sure you can imagine lots of reasons why having a grid is useful; there is a reason it’s a default feature in graphics programs. When working in print, it’s important to know the dimensions of the piece, margins, center of the paper, size of elements, etc. Combine grid paper with tracing paper, and you have a low opacity guide grid, just like on the computer!
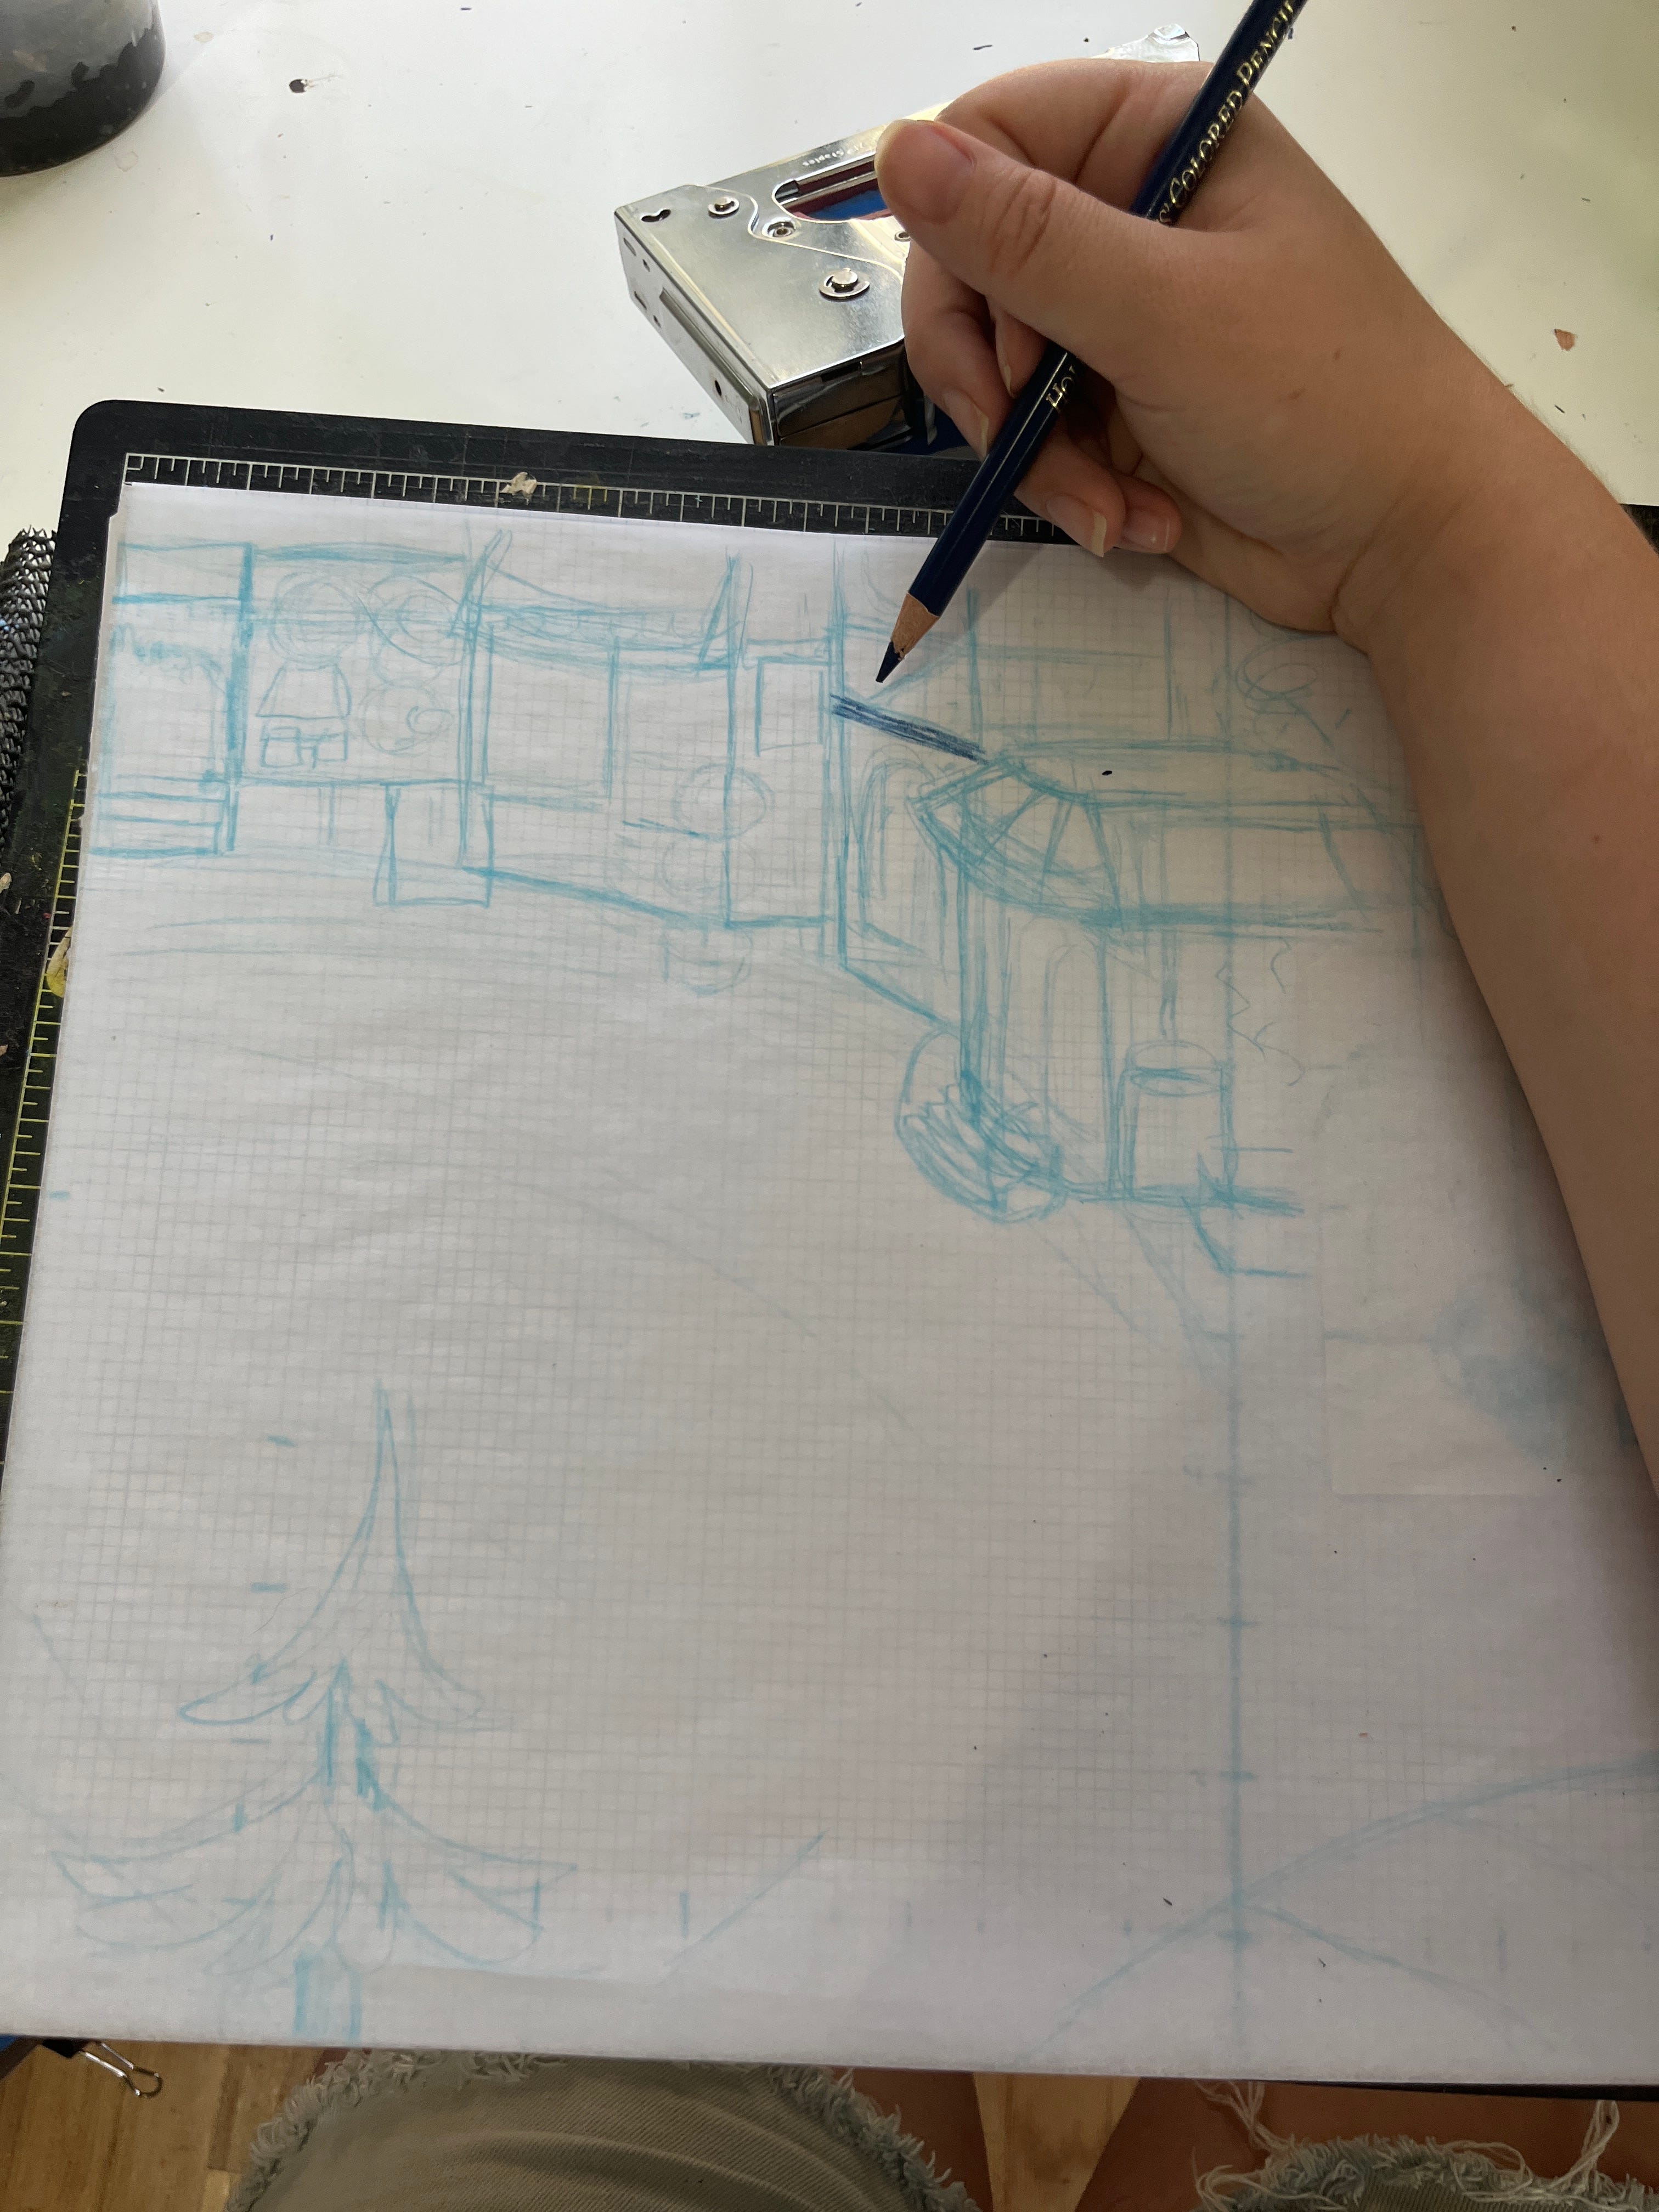
You can think of grid paper like an art board. Move things around and use the grids as composition guides. Then, when things are in the right place, you can use a final tracing layer for your refined drawing.
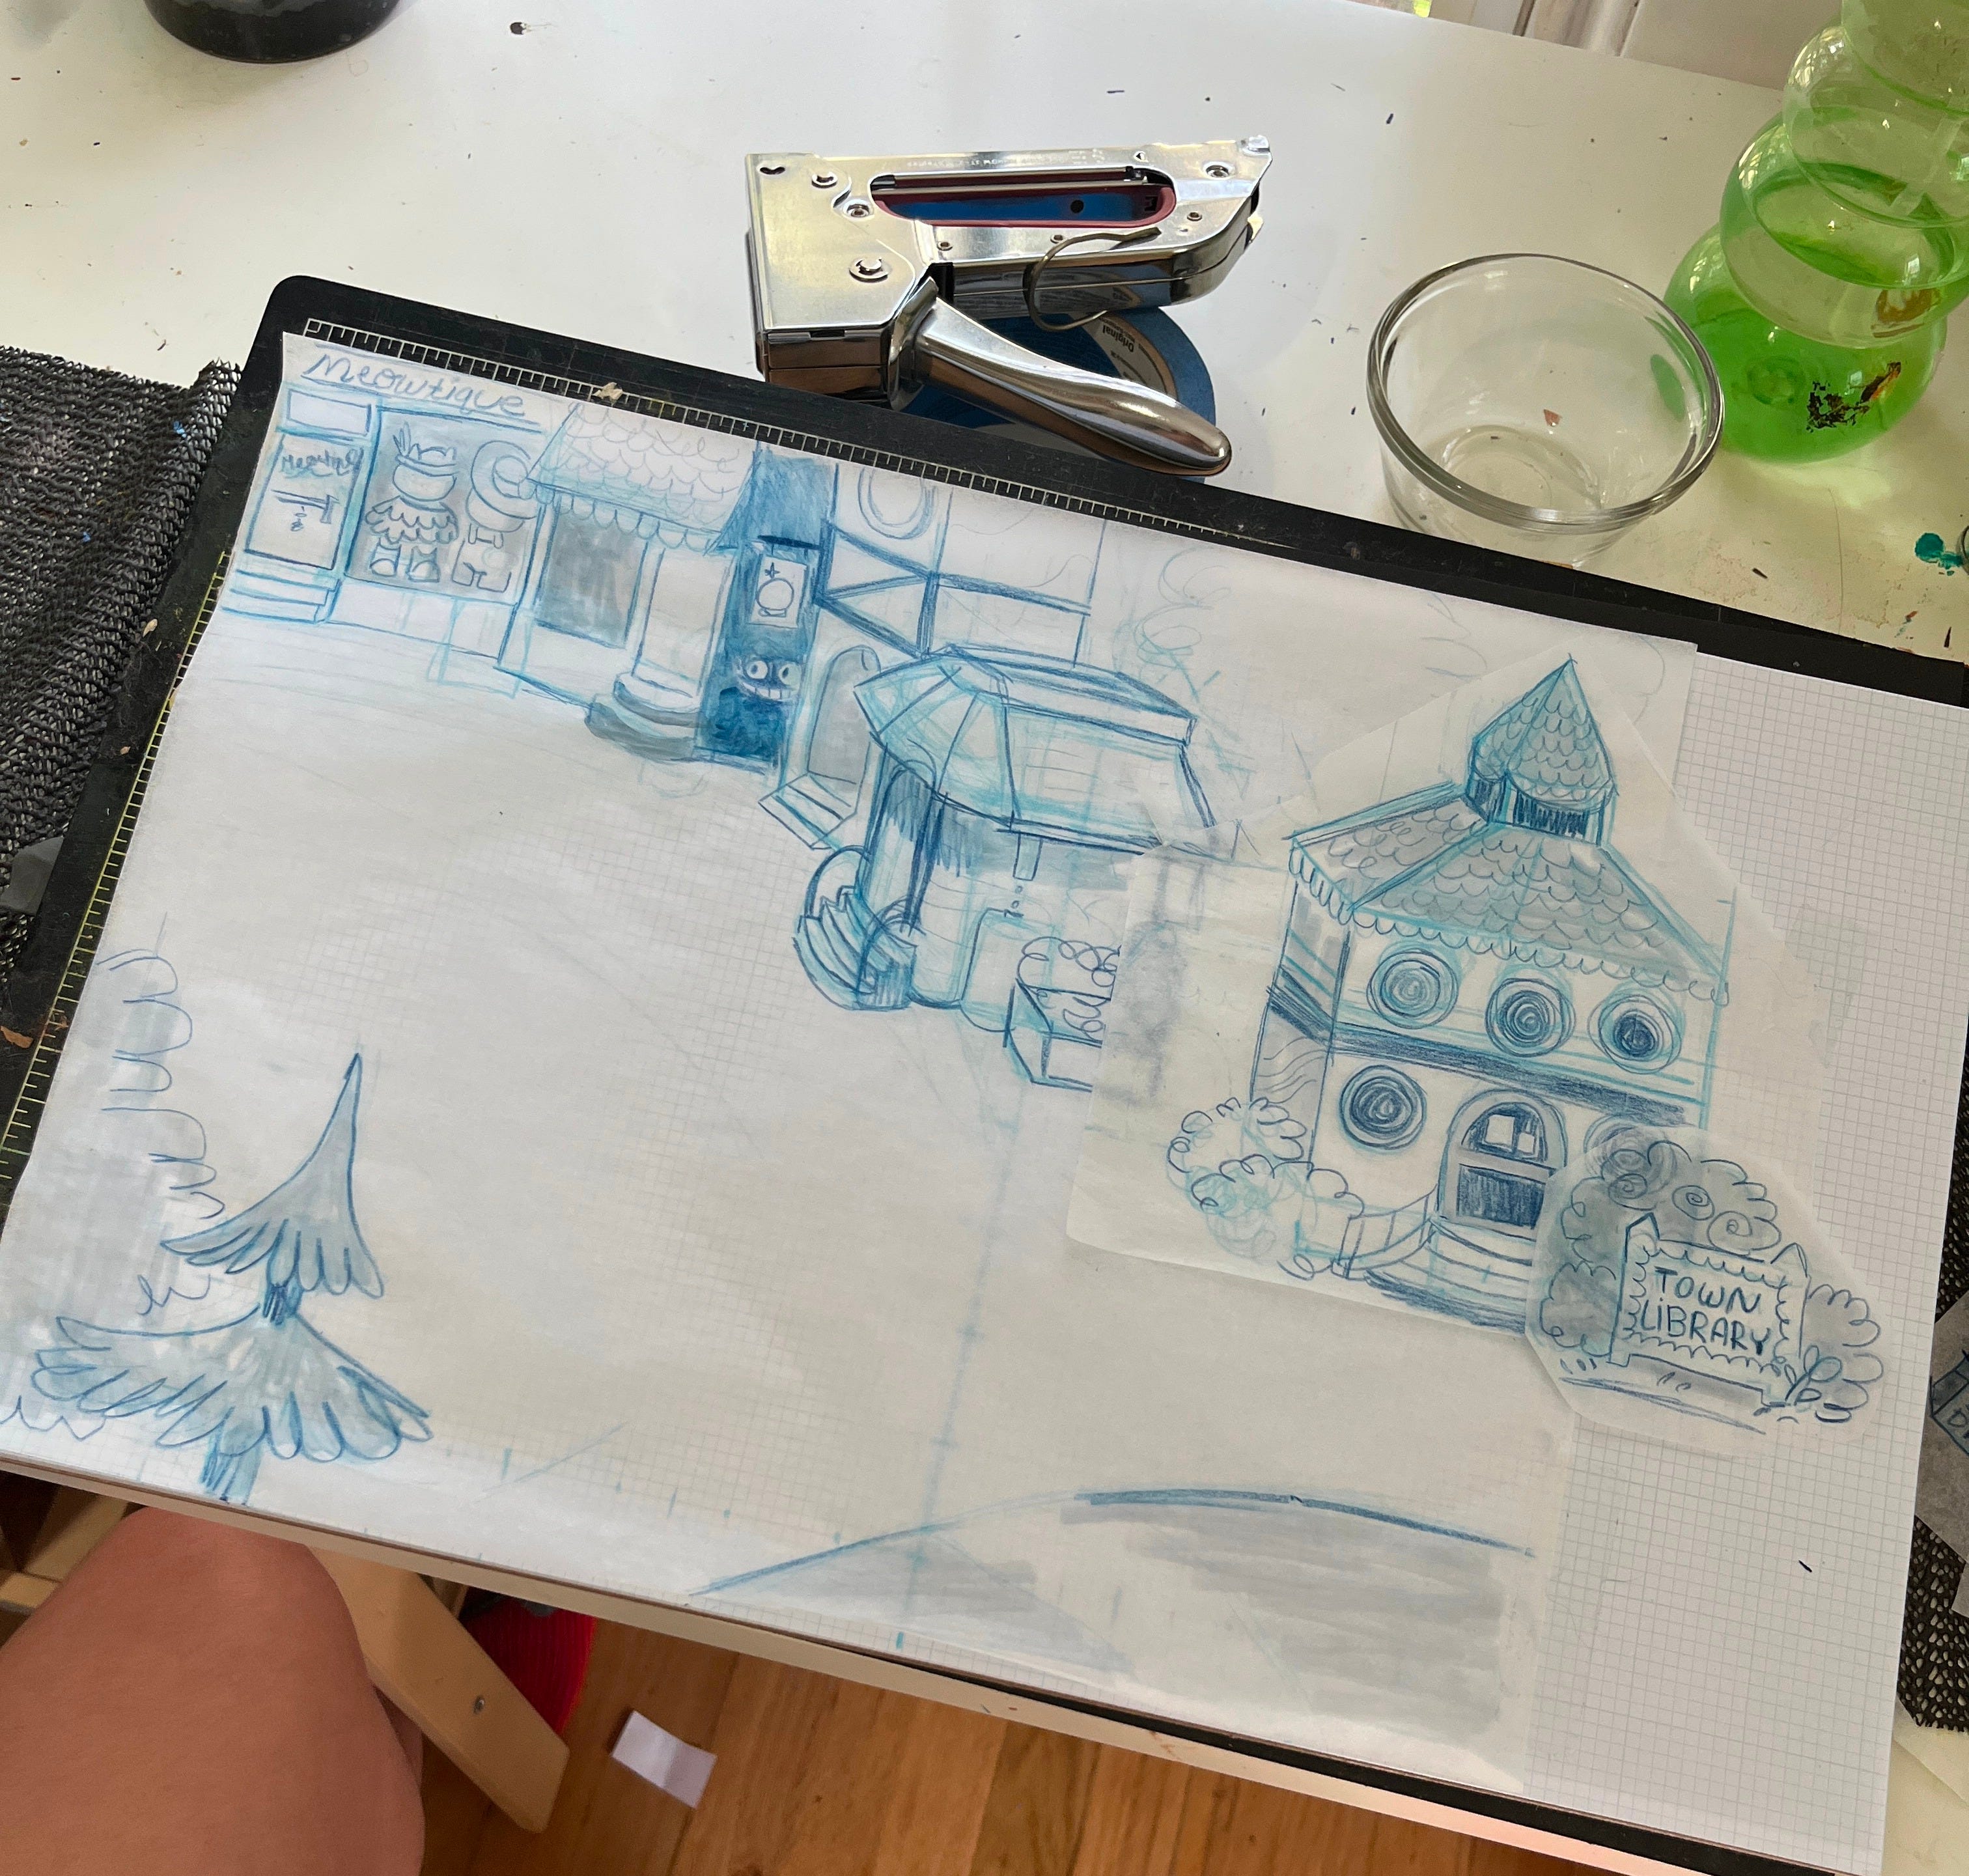
Cut and paste
Ctrl+x and ctrl+v are probably my most used keyboard shortcuts, and there is no rule to say you can’t physically cut and paste paper too. Turns out you don’t actually have to draw things in the right spot the first time, with the power of cut and paste, you can draw first and compose later!


X-acto knife, razer, or scissors
These are your lasso tools. If you don’t have a craft cutting mat, use a piece of cardboard or a kitchen cutting board.
Tape and Paper Cement
I use tape a lot. You can be cute and use washi tape, I mostly use painters’ or Scotch tape. However, blue tape sticking out all over the place can be really distracting and fiddly when trying to lay out a composition comprised of a bunch of cut-out little bits and bobs. That’s where rubber cement comes in.
To be honest, I don’t really know what rubber cement is. I just know it works. This is what they used in days of yore to do magazine layouts and book covers before InDesign existed. With a small amount, you can stick paper together, and it doesn’t saturate the paper the way that matte medium or white glue does. In non-permanent applications, it ends up kind of like the back of a price sticker — that is to say, removable to a degree.
Make sure to get acid free paper cement and not basic rubber cement. (I mean, you can use the basic kind, but acid-free is better for your paper.) Also, make sure to use in a well-ventilated area with the window open if you can. Put a small amount of cement in a dish, and brush it onto the back of the paper as needed. It takes a while to dry, so you have plenty of leeway to move things around.
Boards: poster, illustration, matte, chip
Get a board, any board, cut to size, and you can use your rubber/paper cement to create compositions. (Just like artboards in Adobe Illustrator!) If you wanted to go the extra mile, you could mount your grid paper onto a board and make a reusable composition board. (Probably that kind of thing exists or existed pre-made, but they didn’t have anything like that at my art store.)
I use cheap poster boards to make templates or paste drawings on. I use thicker poster foam board to staple my watercolor paper to. In the past, I’ve used rubber cement to temporarily mount entire pieces of watercolor paper to Masonite to prevent warping. Reusing the chipboard from the backs of sketchbooks also makes a great mounting surface.
Laser copy machine
The last thing on the list is something you might not expect, but can be pretty handy. A copy machine usually has built-in functions to scale up, shrink, darken, and lighten anything it scans without getting the computer involved. Say you drew a nice thumbnail sketch, and you want to enlarge it to use as a base. Smack it in the copier, set that baby to 150% and there you go. If you drew it in pencil and it’s not dark enough, you can fix that on the copier too. Have a drawing you are afraid to ruin by coloring? Just photo copy it, and use the copied version when you paint.
Of course, it’s not as precise as scanning into the computer and resizing in Photoshop. But it’s a really handy, quick and dirty method for when I don’t feel like messing with the computer or fancy scanner.
I often like to draw ideas in my sketch book for things that might happen in a book I’m working on. Redrawing those elements over and over to try out compositions is frustrating and takes forever. With my copier, I can literally copy and paste them onto my storyboard. I also print out my digital drawings at actual size to trace onto watercolor paper or refine with tracing paper.
Black and white laser copy machines are also pretty cheap. You could even find an older model on ebay if you wanted. They are more reliable than inkjet, and laser cartridges last a long time and don’t dry out or get clogged.
Just don’t tell your friends you have a printer, or else they’ll always be asking you to print their concert tickets and stuff for them.
The End
That’s it, that’s my list. I want to note that I am self-taught in all of these tools; I didn’t use any of them in my art classes at college. I know they’re still used in a lot of illustration and design programs, so maybe all of this is really obvious to everyone else. If I got anything wrong or you know any other analog design tricks, let me know! I’m very interested in this kind of thing (if you couldn’t tell). The main point of this piece is that you don’t need a computer to do everything, and in a world dominated by screens, I think we could all use some connection to the physical realm.
Cool, thanks love you bye <3